SHTC3温湿度计
看到了这个温湿度传感器的对比1,就对SHTC3传感器做个温湿度计有了想法。并且利用点灯blinker平台可以手机远程查看家里的温湿度情况。虽然这些都是小米温湿度能做到的,就是有一颗折腾的心。
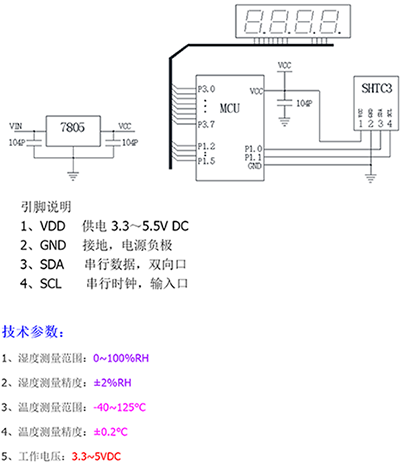
SHTC3传感器只有I2C通信。显示用最便宜LCD1602,也选择接线较少的I2C通信接口版本。既然选择I2C通信还得学习I2C通信的工作原理,有以下有几篇文章作为参考2 3。简单来说I2C通信有两根线SDA和SCL,SDA负责数据,SCL负责时钟。接入设备都是并联连接,通过每个设备的物理地址不同来进行通信。在某段时间内只跟一个设备通信,一段指令里面有开始和结束语句,当语句结束时就可以跟下一个设备通信。这与我之前了解的西门子变频器通过串口连接与PLC采用轮询方式通信相似。
设备清单
| 名称 | 参数 | 备注 |
|---|---|---|
| 安信可ESP32模块 | MicroUSB供电电压5V,22个IO口,对应接口SDA-P21/SCL-P22 | 咸鱼不到20包邮 |
| SHTC3温湿度模块 | 典型湿度精度(%RH)±2,典型温度精度(°C)±0.2,2.15~5.5V | 一定要买成品模块,因为真的和芝麻差不多大 |
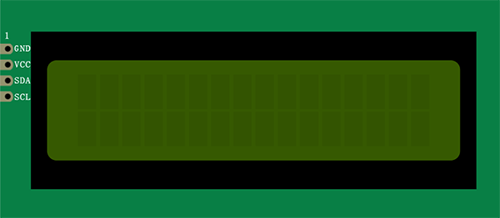
| LCD1602显示屏 | 带I2C模块 | 不带I2C模块也可以自己买模块来组装 |
| LCD1602显示屏亚克力支架 | / | 某宝搜有成品2元,比自己定做外壳便宜得多 |
SHTC3温湿度模块
通过这篇文章4了解到米家电子温湿度计Pro也使用这款芯片,但这款芯片在国内DIY市场使用的玩家较少,导致相关资料缺乏,还好找到了一篇非常不错的文章5给出了SHTC3使用示例,最主要是给出了SHTC3一个比较好用的库:
LCD1602显示屏
当初看到这款屏便宜就直接下单,并没有深入研究。买回后发现它是有些年头的产品,相关资料比较丰富,可以参考这篇文章:Using LCD Displays with Arduino,介绍文章写得非常详实。这个老外的文章写得非常不错,值得借鉴和深入学习。这里使用的是库文件为:LiquidCrystal_I2C
获取物理地址
设备与ESP32连接好后,可以通过以下代码来获取设备的物理地址。
#include <Arduino.h>
#include <Wire.h>
void setup(){
  Wire.begin();
  Serial.begin(9600);
  Serial.println("\nI2C Scanner");
}
void loop(){
  byte error, address;
  int nDevices;
  Serial.println("Scanning...");
  nDevices = 0;
  for (address = 1; address < 127; address++ ){
    // The i2c_scanner uses the return value of
    // the Write.endTransmisstion to see if
    // a device did acknowledge to the address.
    Wire.beginTransmission(address);
    error = Wire.endTransmission();
    if (error == 0){
      Serial.print("I2C device found at address 0x");
      if (address < 16)
        Serial.print("0");
      Serial.print(address, HEX);
      Serial.println(" !");
      nDevices++;
    }else if (error == 4){
      Serial.print("Unknow error at address 0x");
      if (address < 16)
        Serial.print("0");
      Serial.println(address, HEX);
    }
  }
  if (nDevices == 0)
    Serial.println("No I2C devices found\n");
  else
    Serial.println("done\n");
  delay(5000); // wait 5 seconds for next scan
}
点灯blinker
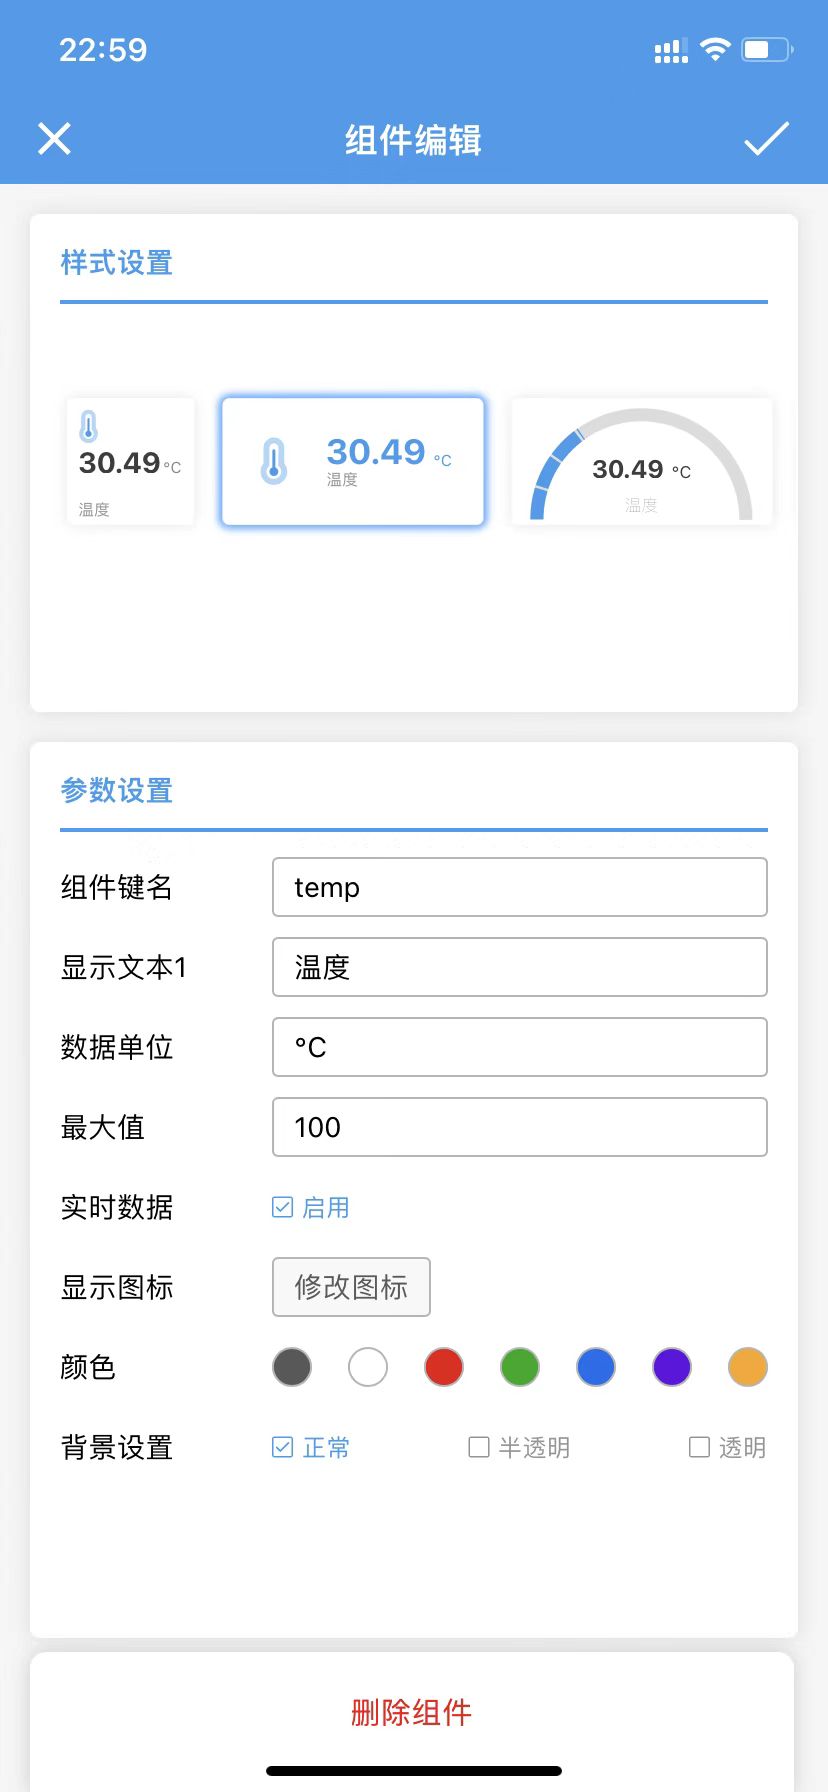
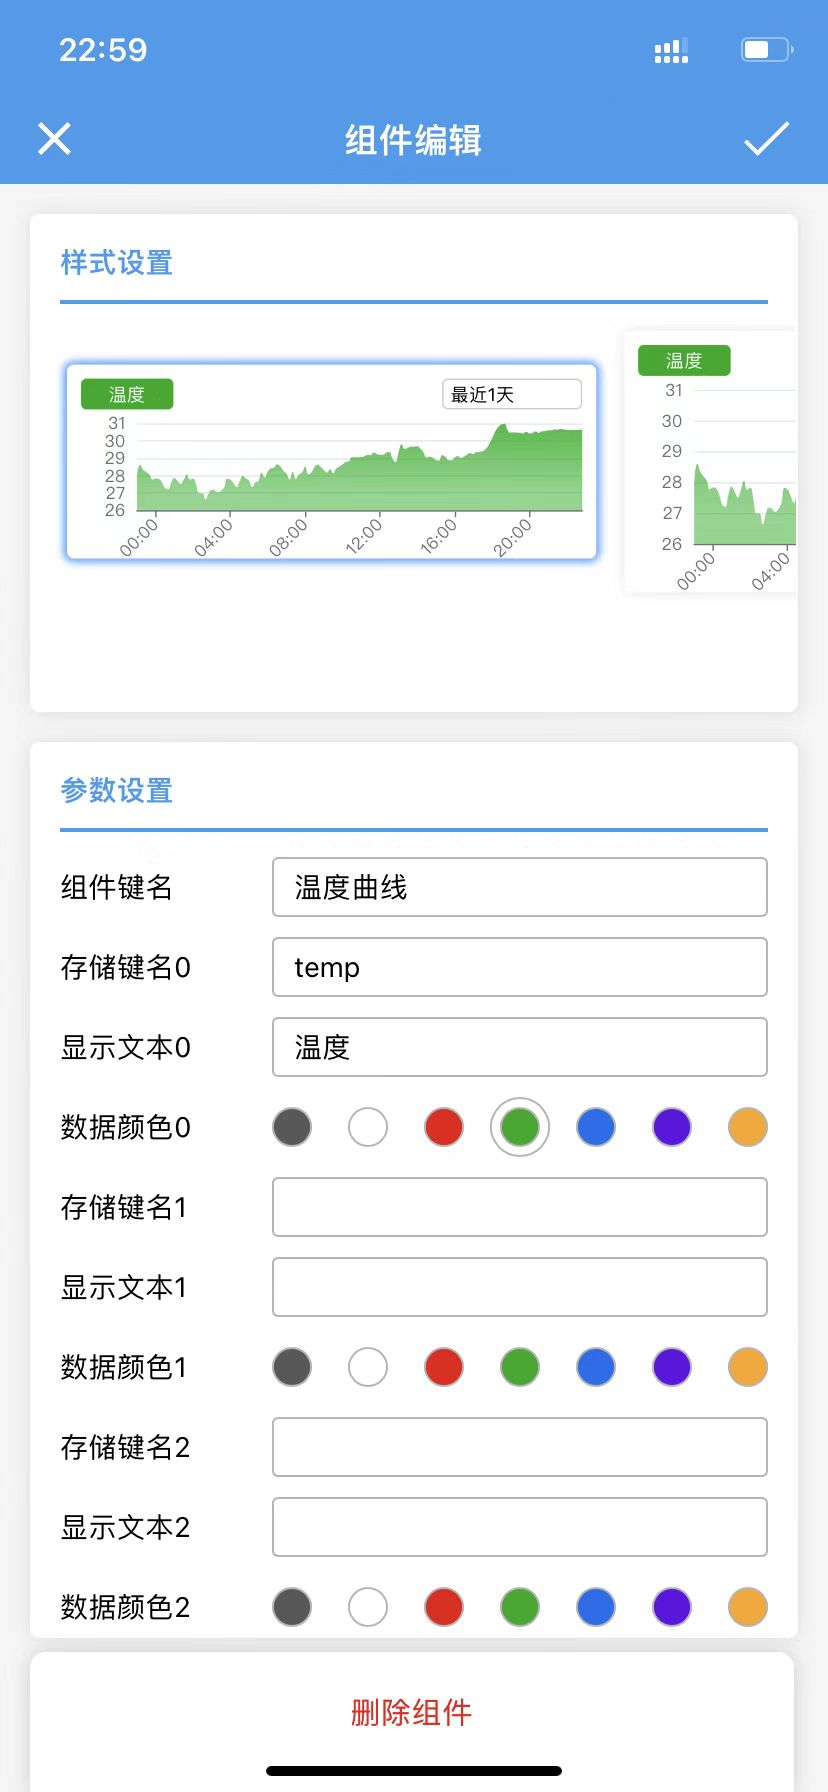
接入blinker物联网平台很方便,只需要在平台申请Secret Key(每台设备1个Key,免费5台),然后程序里面的温度和湿度名称对应我们APP内组件名称就可以回传数据至平台,实现远程查看或控制。点灯平台相关教程参考点灯社区。
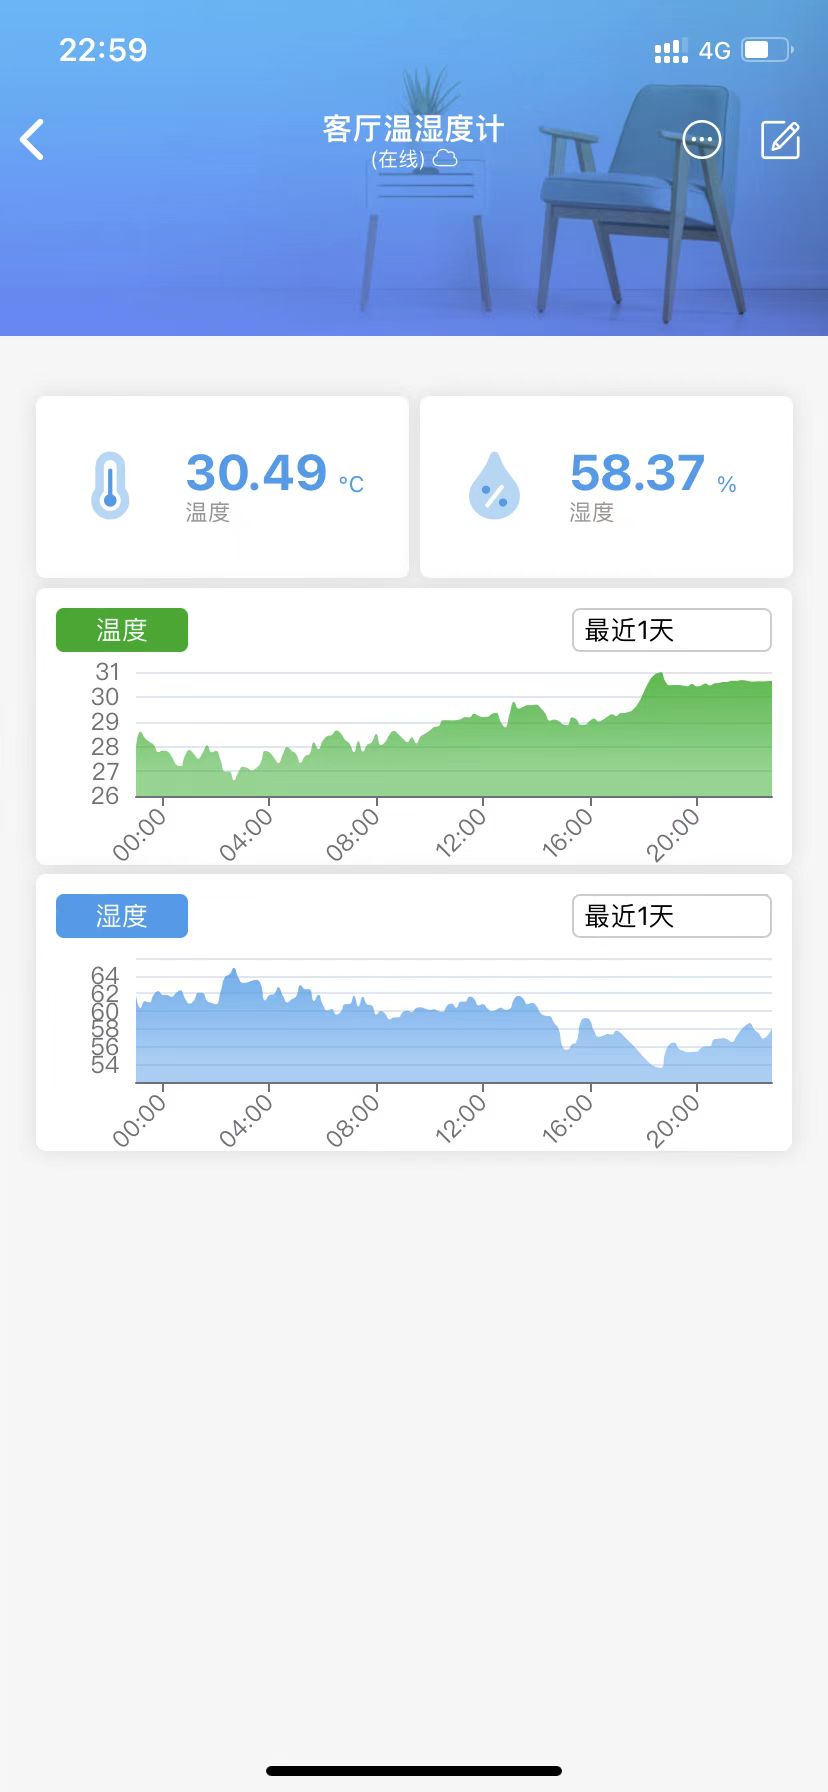
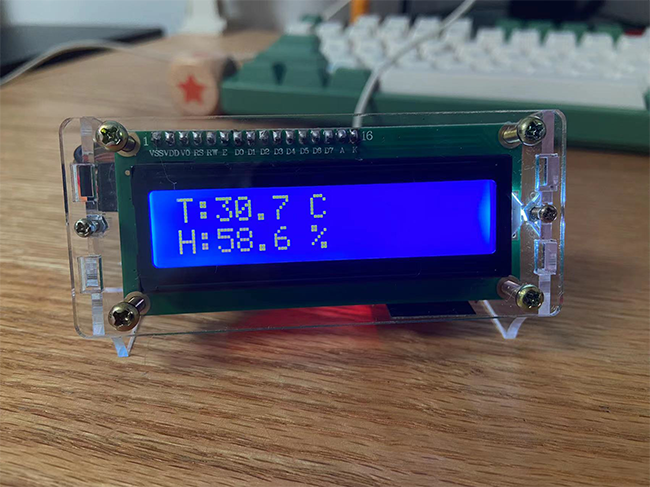
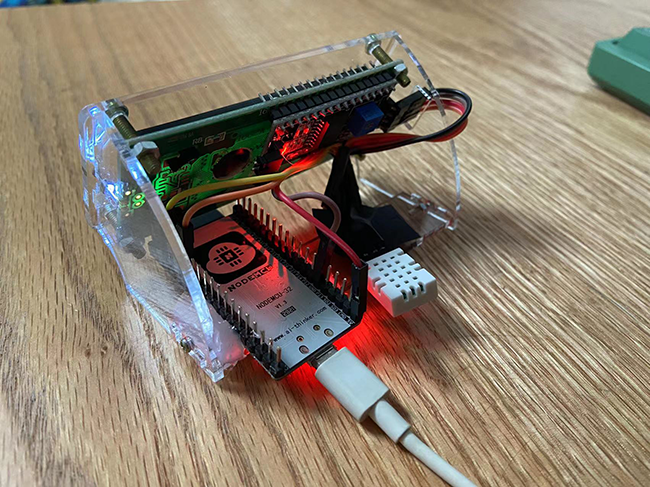
成品图
代码如下
由于没有找SHTC3库里关于I2C的使用方法,默认两套设备其中一套使用物理地址,另一套SHTC3不设置使用也无问题就没有继续研究,因此代码还属于半成品阶段-_-||
#include <Arduino.h>
#include "SHTC3.h"
#include <LiquidCrystal_I2C.h> //引用I2C库
#define BLINKER_WIFI
#include <Blinker.h> //引入点灯库

BlinkerNumber HUMI("humi"); //在Blinker APP 中创建“数据组件”,湿度数据 humi
BlinkerNumber TEMP("temp"); //在Blinker APP 中创建“数据组件”,温度数据 temp

SHTC3 s(Wire);
//设置LCD1602设备地址,这里的地址是0x27,一般是0x20,或者0x3F,具体看模块手册
LiquidCrystal_I2C lcd(0x27,16,2);
//float H, T;
float humi_read = 0, temp_read = 0;

char auth[] = "xxx"; //上一步中在app中获取到的Secret Key
char ssid[] = "xxx"; //你的WiFi热点名称
char pswd[] = "xxx"; //你的WiFi密码

void heartbeat() //利用心跳包把数据上传到blinker(WiFi一分钟一次)
{
  HUMI.print(humi_read);
  TEMP.print(temp_read);
}

void dataStorage() //云存储温湿度数据函数
{
  Blinker.dataStorage("temp", temp_read); //存储温度
  Blinker.dataStorage("humi", humi_read); //存储湿度
}

void setup()
{
  Serial.begin(9600),
  Wire.begin();// Start Wire library for I2C
  s.begin();
  lcd.init();                  // 初始化LCD
  lcd.backlight();             //设置LCD背景灯亮
  BLINKER_DEBUG.stream(Serial);
  BLINKER_DEBUG.debugAll(); //调试用,可要可不要
  Blinker.begin(auth, ssid, pswd); //初始化blinker
  Blinker.attachHeartbeat(heartbeat); //将传感器获取的数据传给blinker APP上
  Blinker.attachDataStorage(dataStorage); //主循环中调用这个函数,每次循环的时候就会调用上面的dataStorage函数,达到可以将每次获得的数据云存储的效果.
}

void loop()
{
  Blinker.run();
  s.sample();
  float T = s.readTempC();
  float H = s.readHumidity();
  if (isnan(H) || isnan(T)) //判断是否成功读取到温湿度数据
  {
    BLINKER_LOG("Failed to read from DHT sensor!"); //读取温湿度失败!
  }
  else
  {
    BLINKER_LOG("Humidity: ", H, " %");
    BLINKER_LOG("Temperature: ", T, " *C");
    humi_read = H;
    temp_read = T;
  }

  Serial.print(F("[SHTC3] T:"));
  Serial.print(T,1);
  Serial.print(F(" Cº  /   H: "));
  Serial.print(H,1);
  Serial.println(F(" %"));
  lcd.setCursor(0,0);    //设置显示指针
  lcd.print("T:");  //输出字符到LCD1602上
  lcd.print(T,1); //显示保留1位小数
  lcd.print(" C");
  lcd.setCursor(0,1); // print the number of seconds since reset:
  lcd.print("H:");
  lcd.print(H,1);
  lcd.print(" %");
  Blinker.delay(4000);
}-
九种温湿度传感器使用对比体验:https://www.arduino.cn/thread-91791-1-1.html ↩
-
超全的Arduino、ESP8266和ESP32的I2C接口使用方法教程:https://www.yiboard.com/thread-1553-1-1.html ↩
-
ESP32学习6:I2C总线:https://blog.csdn.net/sssxlxwbwz/article/details/121939674 ↩
-
"高精度"米家电子温湿度计Pro拆解:https://www.arduino.cn/thread-91956-1-1.html ↩
-
4_Arduino-ESP32_超声波传感器,MPU6050,SHTC3:https://juejin.cn/post/6844903941390630925 ↩